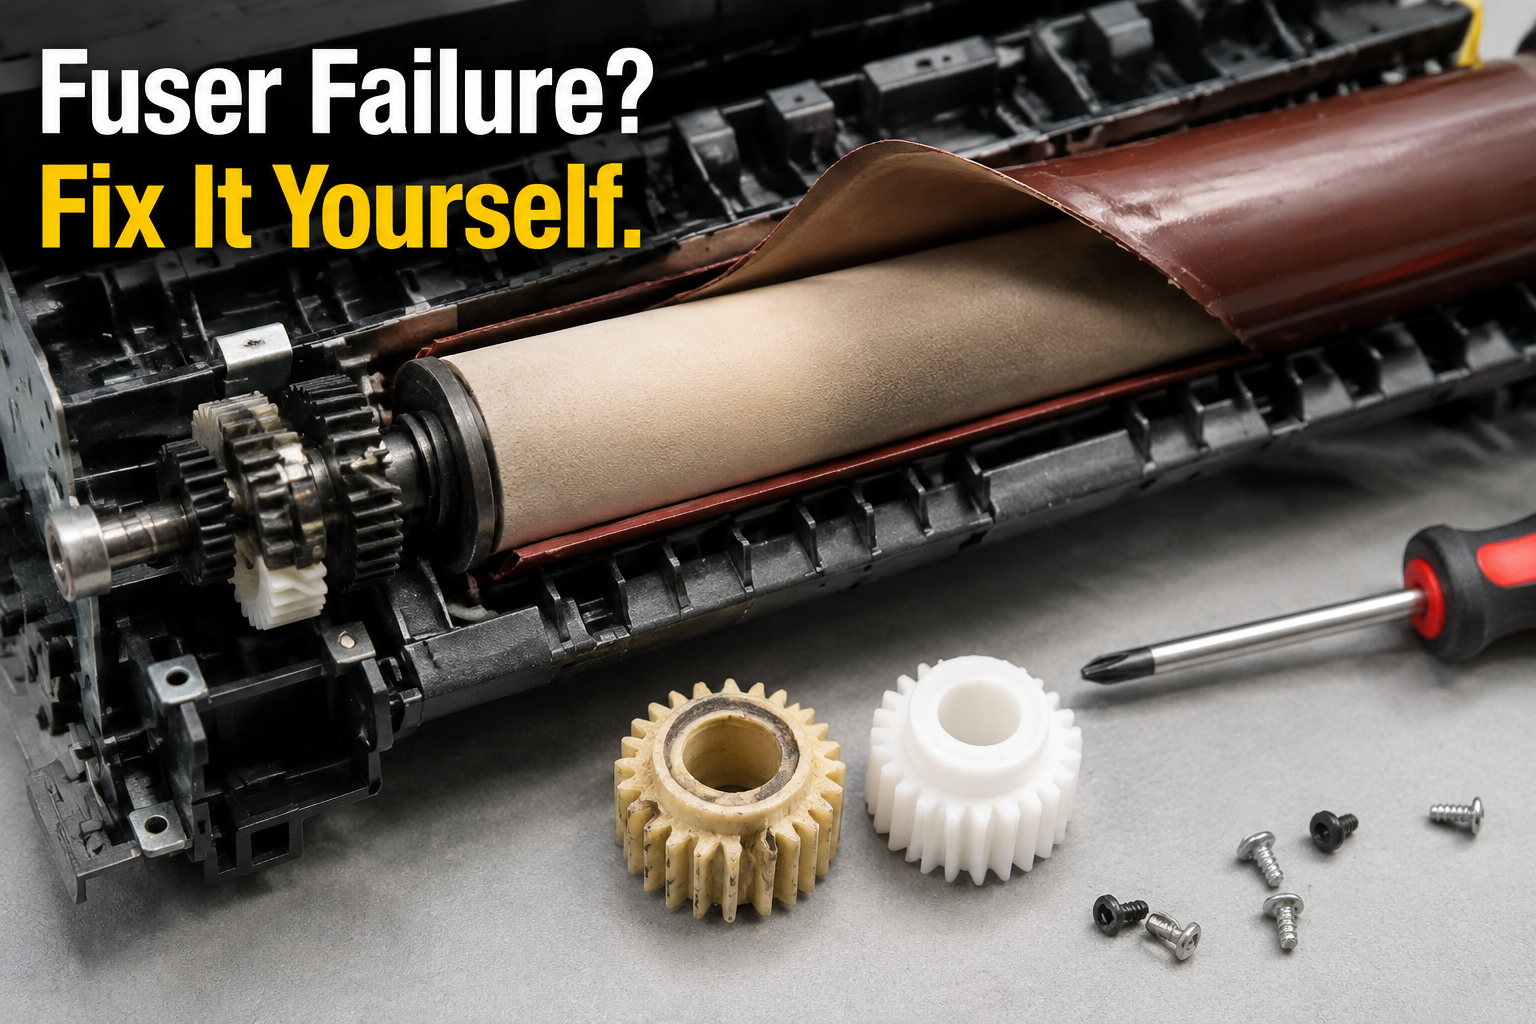
Your printer is showing error codes 50.x, emitting burning smells, or leaving smudged/scratched paper. This guide explains exactly what’s wrong with the fuser assembly, how to diagnose step-by-step, whether you can fix it, and the true cost to repair versus replace.
What’s Happening — Symptoms in Detail
Your printer just broke, and it’s almost certainly the fuser assembly. Here is exactly what you are experiencing:
Error Codes on Screen
- 50.x Fuser Error: Common on HP LaserJet models (e.g., P2055, M402, M404). The ‘x’ varies: 50.1 (low temperature), 50.2 (warm-up timeout), 50.3 (high temperature), 50.4 (fuser drive error).
- E000-000 to E000-004: Canon imageRUNNER machines.
- Error 042-xxx: Xerox WorkCentre models.
- Fuser Error Check: Samsung/Sharp printers show direct fuser messages.
Physical Symptoms
- Burning smell: A hot electrical/plastic odor during printing or immediately after.
- Smoke: Thin white or grey smoke rising from the rear of the printer. Stop printing immediately.
- Paper jams at the rear: Paper stops inside the fuser, often with a crumpled or melted edge.
- Scratched or glossy lines on printed pages: Dark horizontal lines or shiny scratches running across the page in the same position every time.
- Wrinkled paper: The paper exits wrinkled or with a wavy pattern.
- Loose toner: Toner smears off the page when you touch it—the fuser isn’t melting the toner fully.
When Does It Happen?
- On startup: Fuser error right after powering on, before any print job. This indicates a failed thermistor or heater lamp.
- During a print job: Mid-print error, often when printing a heavy page (high coverage) or using thick paper.
- After a crash or paper jam: If you pulled out a jammed piece of paper forcefully, you may have damaged the fuser rollers or internal wiring.
- After a firmware update: Rare, but some firmware glitches have triggered false fuser errors on certain HP models (check forums).
How Does It Progress?
- Gradual: First, you notice faint scratches on prints. Then lines get darker. Then occasional jams. Finally, error code appears.
- Sudden: One moment fine, next moment smoke and error 50.2. Often due to a shorted heater lamp or a gear that snapped.
Your exact scenario determines the repair path. Do not replace the whole printer yet—read the diagnosis section.
How to Diagnose the Problem Step by Step
You can diagnose the fuser problem right now with basic tools. Follow these numbered steps in order. Stop performing any diagnosis if you see smoke—unplug printer first.
Tools Needed
- Phillips #2 screwdriver
- Needle-nose pliers
- Multimeter (for advanced check)
- Flashlight
- Work gloves (fuser can be hot)
Safety First: Unplug the printer and wait 20 minutes for the fuser to cool. The fuser assembly can reach 200°C (392°F). Touch the metal frame near the rear—if warm, wait longer.
Visual Inspection: Remove the rear panel (usually two screws at the bottom). Locate the fuser assembly—it’s the large metal and plastic unit with two rollers. Normal: The rollers are smooth, no burn marks, no melted plastic. Abnormal: You see charring, melted spots on the rollers or surrounding plastic, or a broken gear.
Check the Fuser Film/Sleeve: For HP and Canon printers with a soft fuser film (sleeve), look for tears, wrinkles, or holes. Normal: The film is taut with a slight gloss. Abnormal: You can see the metal heater underneath through a tear—that’s a guaranteed failure.
Rotate the Fuser Gears by Hand: Locate the drive gear on the fuser (often a white plastic gear). Using needle-nose pliers, gently turn it. Normal: Smooth rotation with slight resistance. Abnormal: Grinding, clicking, or the gear spins freely without moving the roller—the gear is stripped.
Thermistor Test (Advanced): With the multimeter set to resistance (ohms), probe the two wires going to the thermistor (small glass bead on the fuser film). Normal: Resistance reads 100k-300k ohms at room temperature. Abnormal: Open circuit (infinity) or short (0 ohms) means the thermistor is dead—the heater won’t regulate temperature.
Heater Lamp Continuity Check: Unplug the fuser’s main connector. Measure resistance across the lamp terminals. Normal: 1-10 ohms for a halogen lamp. Abnormal: Open circuit—the lamp is burned out. Do not touch the lamp glass, oils from your skin will cause hot spots.
Pressure Roller Test: Remove the fuser assembly (usually 2-4 screws plus a connector). Press the pressure roller (lower one) with your thumb. Normal: It gives slightly (rubber coating is soft). Abnormal: Rock hard or has a flat spot—causes poor fusing and jams.
If you found any abnormal result, the fuser assembly needs repair or replacement. Now move to root causes.
Why This Happens — Root Cause
The fuser assembly fails due to a combination of heat, mechanical stress, and normal wear. Here is the engineering behind each failure type:
1. Burned/Damaged Fuser Film (Sleeve)
- The fuser film is a thin, heat-resistant sleeve that rotates over a ceramic heater. When the heater’s temperature sensor (thermistor) fails or is covered in toner dust, the heater overheats. The film melts, tears, or develops a hole.
- Accelerating factors: High page counts (over 100,000 pages on office models), dust from recycled paper, or long print runs without cooling intervals.
2. Stripped Drive Gears
- The upper fuser roller is driven by a plastic gear that meshes with the printer’s main drive. Over time, the gear teeth wear down. The gear can snap if a paper jam is forcefully pulled out (the fuser stalls, gear breaks).
- Notable models: HP LaserJet P2055 series (gear part #RM1-0590-000CN). The bushing also wears, causing the gear to wobble and strip.
3. Failed Heater Lamp
- Halogen lamps (common in older HP, Canon) have filaments that eventually burn out after thousands of on/off cycles. Thermal stress from rapid heating weakens the filament.
- Signs: Printer turns on, fan runs, but no heat—error 50.1 (fuser low temperature).
4. Thermistor or Thermostat Failure
- The thermistor is a negative temperature coefficient (NTC) resistor. It sits against the fuser film. Toner dust and paper debris can insulate it, causing false readings. The printer sees ’low temperature’ and runs the heater continuously until it overheats.
- The thermostat is a mechanical switch that opens if temperature exceeds safe limits. Once tripped, it stays open permanently—printer will not heat at all.
5. Roller Wear and Deformation
- The soft rubber of the pressure roller hardens over time due to heat cycles. A hardened roller doesn’t apply even pressure, causing poor fusing and wavy paper.
- A flat spot develops if the printer sits idle with the rollers pressed together for long periods (e.g., weekend shutdown).
Specific Known Issues
- HP M402/M404: The upper fuser roller bushing wears out, causing the gear to bind. Known part: JC66-03080A upper fuser roller assembly.
- Samsung CLP-365W: The fuser gear strips frequently for no apparent cause; the replacement gear (#JC61-03755A) is a common fix.
What accelerates failure?
- High humidity (paper moisture causes jams, which strain gears)
- Using paper with rough surface (abrades fuser film)
- Ignoring ‘Replace Fuser Kit’ messages (counters: some models have a maintenance kit that includes a new fuser)
- Firmware bugs: On certain HP models, a firmware update changed the temperature ramp profile, causing premature fuser failures (check HP support forums).
Can You Fix It Yourself?
Can You Fix It? Yes, in most cases you can repair the fuser assembly yourself. Here is an honest assessment:
Difficulty Level: 3 out of 5 (Moderate)
- Not as easy as replacing a toner cartridge, but doable with patience. The hardest part is disassembling the fuser unit to access the inner gears and heater.
Time Required: 30 to 90 minutes
- Simple gear replacement: 30 minutes.
- Full fuser rebuild (replace film, heater, gears): 90 minutes.
Skill Level Needed
- No soldering: Most repairs are mechanical (screws, clips, plugging connectors).
- Just a screwdriver: Philips #2, plus maybe a small flathead for prying clips.
- Multimeter use: Needed if you suspect thermistor or lamp failure.
Risks and What Could Go Wrong
- Damaging the fuser film: The film is delicate—use gloves, no scratches.
- Static discharge: Printers have high voltage power supplies; avoid touching exposed circuit boards.
- Not fixing the root cause: If you replace only the gear but the original bushing is worn, the new gear will break again quickly.
- Buying wrong parts: Fuser assemblies vary by model—match the exact part number (check your printer’s service manual).
Are you a beginner? If you’ve never opened a printer beyond toner replacement, this repair may be too advanced. Consider professional help if you are not comfortable with small parts and connectors.
Alternative: You can buy a pre-assembled fuser unit (often called a fuser kit) and swap the whole assembly—this is difficulty level 2, taking only 20 minutes. But it costs more than repairing individual parts.
Cost Breakdown — DIY vs Professional
DIY vs Professional Repair: Real Cost Comparison
DIY Repair (Individual Parts)
- Upper Fuser Roller Gear with Bushing: $1.07 (Part #1)
- Replaces a stripped gear and its worn bushing. Fits many HP and Samsung models.
- Upper Fuser Roller Assembly: $1.13 (Part #2, JC66-03080A / JC61-03755A)
- Includes roller, gear, bushing, and sometimes the film. Usually a direct swap for the upper roller unit.
- Other costs: Possibly $0 for tools (you likely have screwdrivers), or $10 for a multimeter if you don’t have one.
- Total DIY cost: $1.07 to $30 depending on how many parts needed. Even a full set of gears, film, and thermistor rarely exceeds $25.
DIY Full Fuser Kit (Pre-assembled)
- OEM Fuser Assembly: $50 to $150 (depending on model) on sites like Parts Super Store.
- Compatible (third-party) Fuser Assembly: $30 to $80.
- Total: $50–150. But you swap it in 20 minutes with no further disassembly.
Professional Repair Shop
- Diagnostic fee: $30–50 (sometimes waived if you proceed with repair).
- Labor: $70–120 per hour. Fuser repair typically charged as 1 hour minimum.
- Parts: They will add markup on parts—typically 30–50% over retail.
- Total typical cost: $100–200 for a simple gear swap; $150–300 for a full assembly replacement.
When to Skip DIY
- Printer is under warranty (call manufacturer first).
- Printer is very old (10+ years) and the toner is also hard to find. A new printer ($150–250) may be cheaper than repair labor.
- You see melted plastic inside the fuser cavity—may indicate a power supply issue that needs professional diagnosis.
- You lack the time or patience—professional repair may be worth the premium.
Hidden Costs
- Shipping for small parts: $4–8 if not combined with other orders.
- If you break something else during disassembly (e.g., a fragile connector ribbon), add $10–20 in parts.
Note: Part #1 and #2 listed above are cheap and available. A full fuser rebuild using those parts is under $5, making DIY extremely cost-effective for a single failure.
Repair Process Overview
Repair Process Overview (Fuser Gear/Roller Replacement)
These are the major steps. For exact instructions, refer to your printer’s service manual (search ‘model number + service manual’).
Power Off & Cool Down: Unplug the printer. Wait 20 minutes. The fuser can remain hot enough to cause burns.
Remove the Fuser Assembly: Open the rear access door. Remove the two release levers (they disengage the pressure roller). Slide the fuser out. Disconnect the electrical connector (press tab, pull gently).
Disassemble the Fuser Housing: Using a Phillips #2 screwdriver, remove 4–6 screws on the sides and top. Pry open plastic clips carefully—they break easily. Separate the two halves of the fuser housing.
Remove the Upper Roller Assembly: The upper roller (with the fuser film) is held by metal side plates. Slide it out. Note how the drive gear meshes with the gear on the roller.
Replace the Gear and Bushing: If the gear is stripped, remove the old gear by prying off the retaining clip (E-clip) with a small flathead. Slide off gear and bushing. Install new gear and bushing (Part #1 or Part #2 according to compatibility). Apply a tiny drop of plastic-safe grease (e.g., Super Lube) to the gear teeth.
Check the Pressure Roller: While the fuser is open, spin the pressure roller. If it feels rough or has flat spots, replace it. Order a compatible pressure roller (usually $10–20).
Reassemble the Fuser: Place the upper roller back into its slots. Make sure the thermistor aligns with the film (touch it gently). Close the housing. Ensure no wires are pinched. Tighten screws uniformly.
Install the Fuser Back into the Printer: Slide it into its slot until it clicks. Reconnect the electrical connector. Push the release levers back into position. Close the rear door.
Test: Plug in printer. Turn on. Perform a ‘fuser calibration’ (typically happens automatically during warmup). Print a test page.
Common Mistakes and How to Avoid Them
- Mistake: Forgetting to reconnect the thermistor wire. Printer gives error 50. Avoidance: Before closing housing, trace each wire to its connector.
- Mistake: Overtightening screws—cracks the plastic housing. Avoidance: Tighten until snug, then 1/4 turn more.
- Mistake: Using regular grease on gears—attracts toner dust, causing jams. Avoidance: Use only plastic-safe silicone grease.
- Mistake: Installing the gear upside down (keyed gears). Avoidance: Note the orientation before removing old gear.
If you are uncomfortable with disassembly, buying a pre-assembled fuser unit (full fuser assembly) is easier: remove two screws, slide old out, slide new in, reconnect cable. Much simpler, but costs more.
After the Repair — Testing & Verification
After Repair — Verification
Warmup Test: Turn on the printer. The fuser should heat up within 30 seconds. Listen for a click (thermostat resetting). If the screen shows a fuser error again, the connector might be loose or the new part is defective.
Print Test Page: Print a test page (usually through printer menu or hold ‘Resume’ button). The page should come out smooth, with no scratches or smudges. Toner should be firmly bonded—rub your finger on a black area; it should not smudge.
Check for Paper Jams: Print 10 pages of random document. If any jam occurs at the fuser, the gear mesh might be off or the film is not rotating.
Monitor for Smell/Noise: During the first 3 prints, sniff for any burning odor. Listen for any grinding or clicking from the fuser area. Normal operation is quiet with a soft hum.
Error Log Check: Many printers have an error log (under Settings/Reports). If a 50.x error was logged before, it may still be stored—but do not worry unless it reoccurs.
What to Watch For in the First Few Hours
- Fuser film tear: If the film was not installed perfectly, it may tear after a few dozen pages. If you see new scratches on prints, check the film.
- Overheating: If the printer suddenly smells very hot again, the thermistor may be incorrectly positioned. Stop use and recalibrate.
- Gear failure: If the new gear breaks within the first week, the original bushing or another gear in the drive train is out of spec. You may need to replace the entire gear set.
When to Call Professional
- If after repair the printer still shows error 50.1 or 50.2, the heater lamp or power supply board may be faulty.
- If you hear a loud bang (explosion of a halogen lamp) during test, unplug immediately—the new lamp may be defective or misaligned.
Congratulations! Your fuser assembly is now working. Pat yourself on the back—you saved $50–150 over a shop repair.
Parts You’ll Need
Here are the parts that match this repair. Click the link to check the current price on AliExpress.
| Product | Price |
|---|---|
| Upper Fuser Roller Gear with Bushing … | $1.07 |
| JC66-03080A JC61-03755A Upper Fuser R… | $1.13 |
Prices and availability are subject to change on AliExpress.